Headless CMS
# Solution
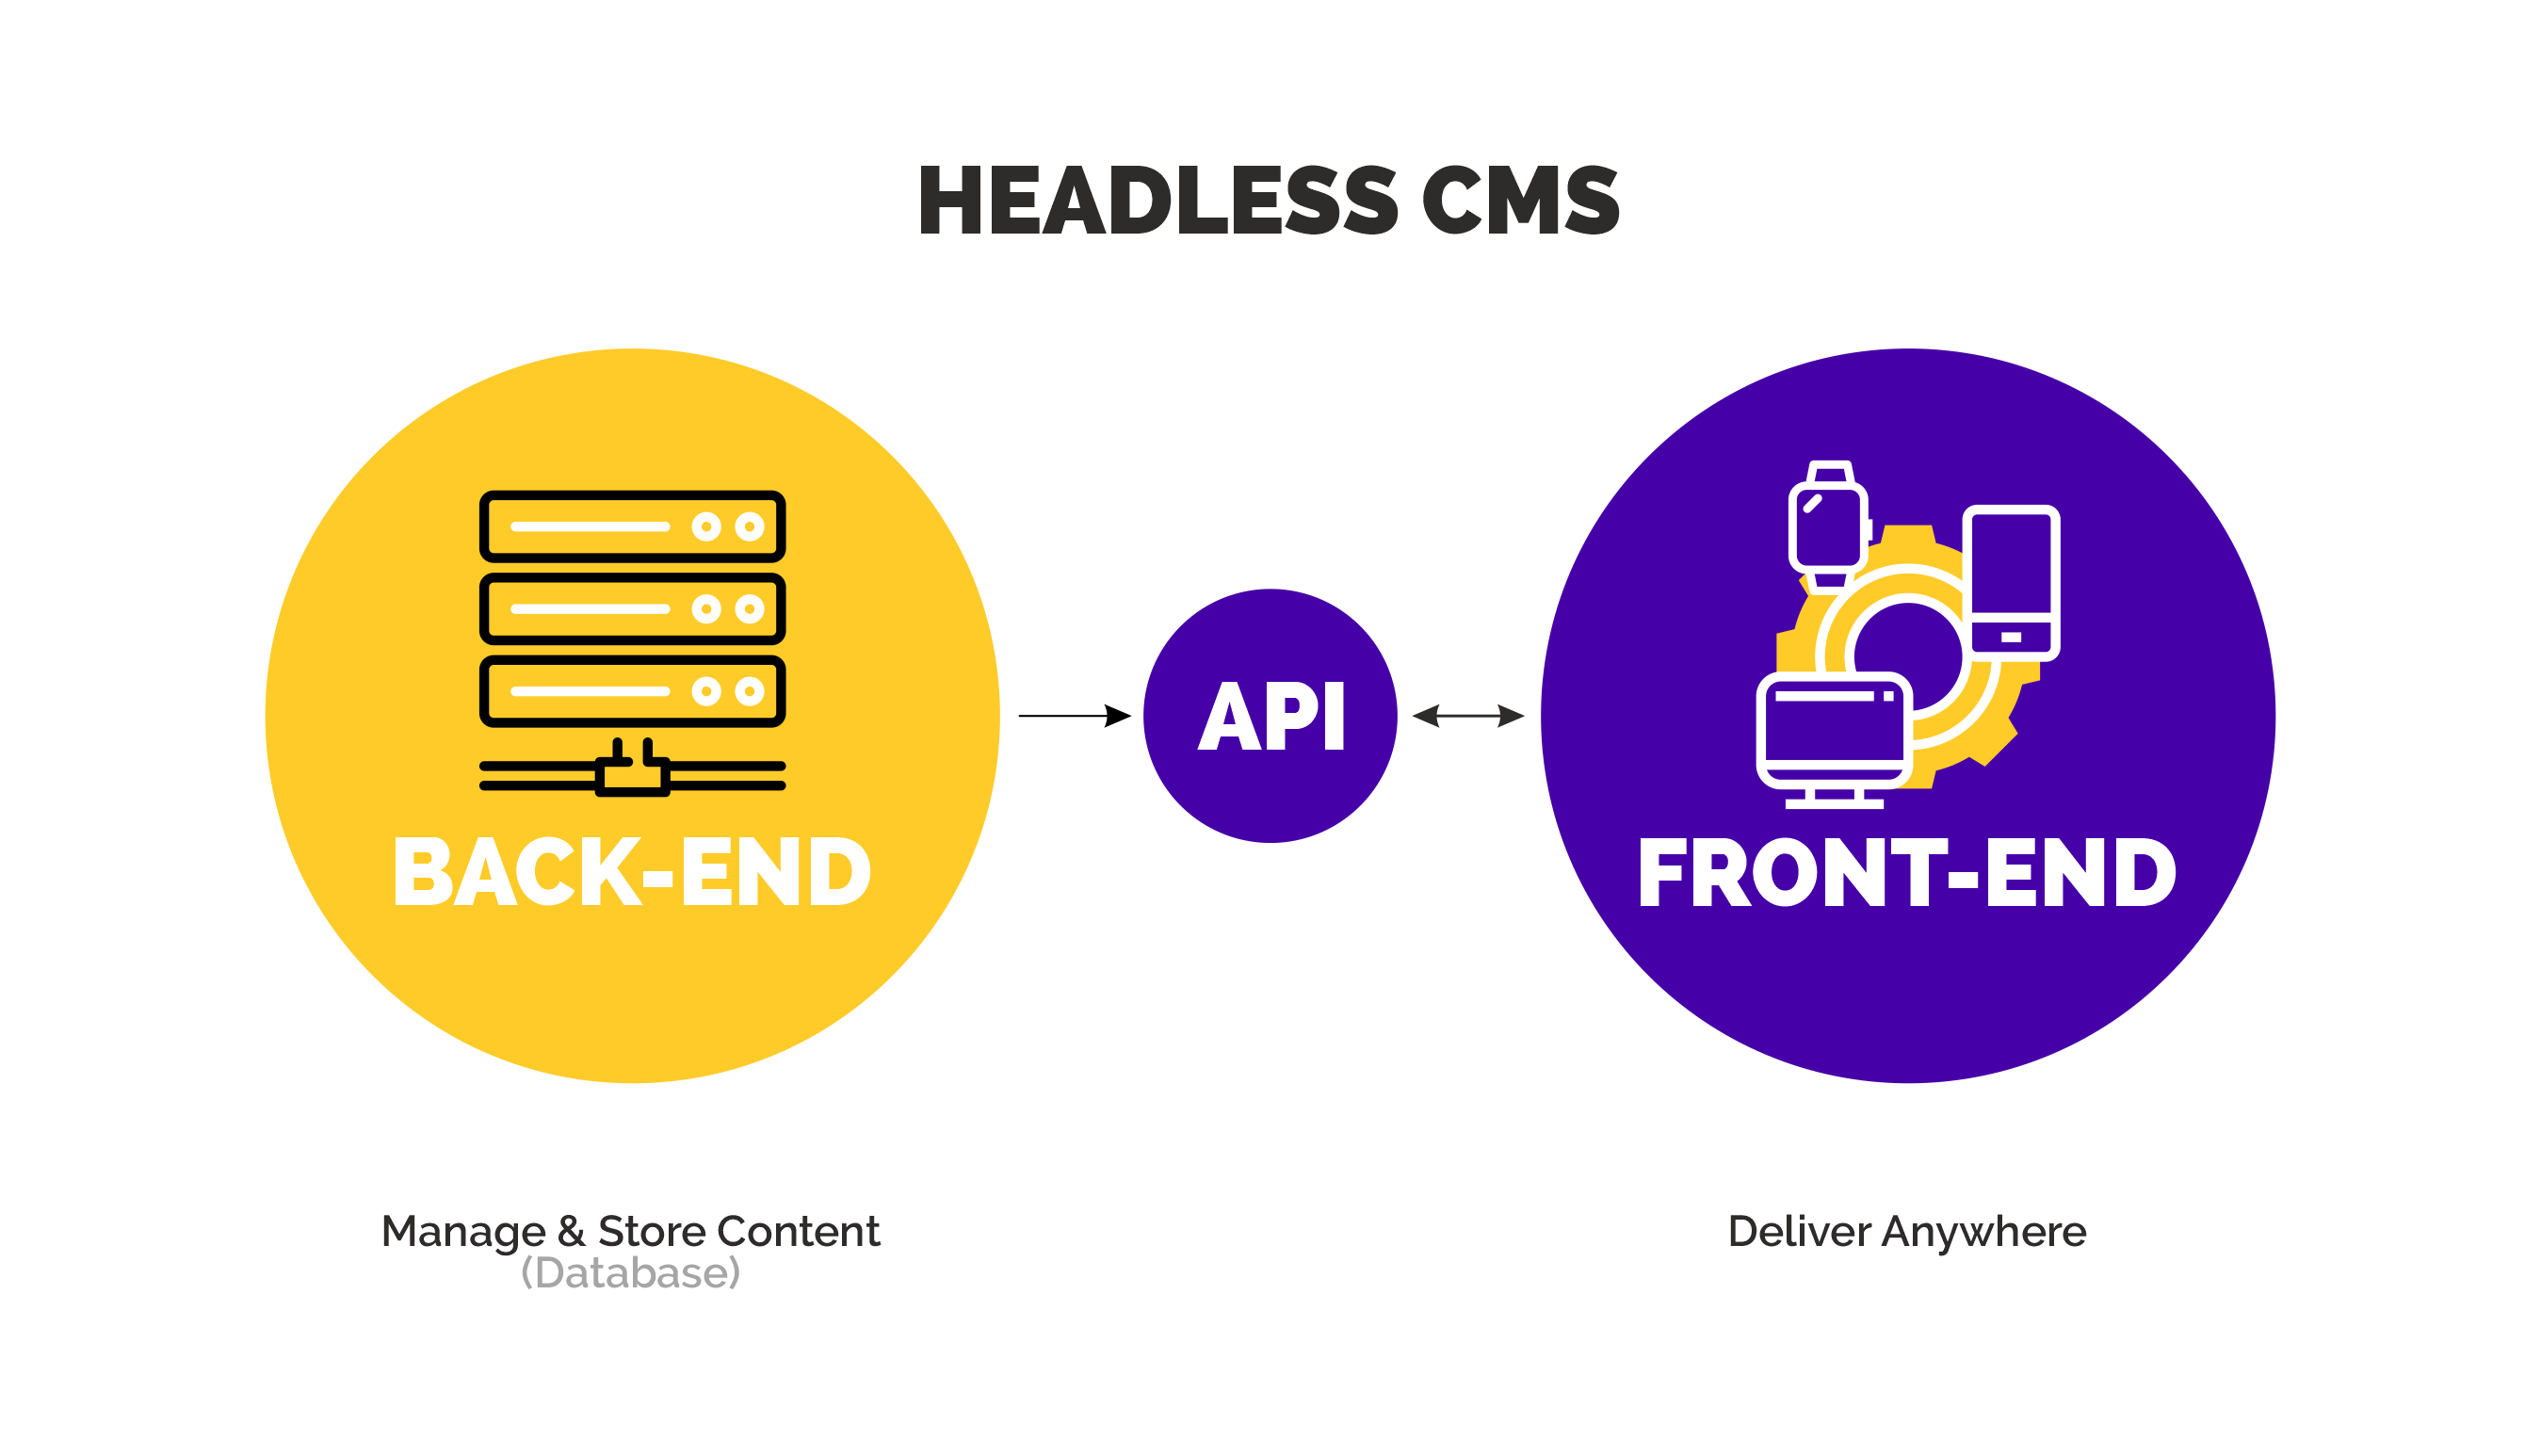
Use headless CMS that can help you build docs site with customize layout, content, auto publish, and easy management.
How do you know which headless CMS is right for your docs site? In this post, we’ll walk through important decisions to consider and weigh the pros and cons of three headless CMS options.
# Defining our headless CMS requirements
- This headless CMS has to be free to use, and free to host.
- This headless CMS has to be robust enough to grow with the site over time.
- This headless CMS has to work with frontend frameworks like Vuepress.
No headless CMS is truly free. They have some requirements and option that gives us the power and flexibility for the lowest cost.
There are open source projects that provide code for free, but we have to host it somewhere (we are using Azure storage).
# Option #1. WordPress (traditional CMS)
# Option #2. Headless Contentful CMS (API-driven)
# Option #3. Headless Netlify CMS (Git-based)
Netlify created a free headless CMS. That use cloud git servies like Github and Gitlab as the backend for your content.
It's free but have an limitation if we want to use that to manage large files like images and videos.
Pros
- Can quickly and easy setting environment (include new or existing project)
- Working well with Github/Gitlab repositories
- Can authenticate with OAuth providers: Github, Gitlab, Bitbucket
- Free host your static site (if not custom domain): <your_site_name>.netlify.com
Cons
- That just require their identity for authenticate (Netlify identity + Git gateway) => It's mean we have to deploy to their site.
- Using Github/Gitlab
Netlify auth server just work on
localhostbut anywhere else (other storage your site) is confusing. That cannot auth by their auth server. If we want to auth by Github/Gitlab or other auth without Netlify identity > We have to build own authenticate server. (github/gitlab auth APIs or other auth APIs)
# How to apply Netlify CMS to Vuepress
<!doctype html>
<html>

<head>
    <meta charset="utf-8" />
    <meta name="viewport" content="width=device-width, initial-scale=1.0" />
    <title>VuePress-NetlifyCMS</title>
    <script src="https://cdn.jsdelivr.net/npm/netlify-identity-widget@1.5.2/build/netlify-identity-widget.min.js"></script>
</head>

<body>
    <!-- Include the script that builds the page and powers Netlify CMS -->
    <script src="https://cdn.jsdelivr.net/npm/netlify-cms@2.3.1/dist/cms.js" integrity="sha256-Zv4A5owfOF4cDiraaQ7d66BMIs+XzF6tkmpAn+BAJ5U=" crossorigin="anonymous"></script>
    <script>
        if (window.netlifyIdentity) {
          window.netlifyIdentity.on("init", user => {
            if (!user) {
              window.netlifyIdentity.on("login", () => {
                document.location.href = "/admin/";
              });
            }
          });
        }
    </script>

</body>

</html>
enhanceApp.js
const Admin = () => import("./Admin");

export default ({ Vue, options, router }) => {
  router.addRoutes([
    {
      path: "/admin",
      component: Admin
    }
  ]);
};
Admin.vue
<template>

</template>

<script>
import CMS from "netlify-cms";
import "netlify-cms/dist/cms.css";
import netlifyIndentityWidget from "netlify-identity-widget";

export default {
  created() {
    window.netlifyIndentityWidget = netlifyIndentityWidget;
    netlifyIndentityWidget.init();
  }
};
</script>